Step-by-step: How to transfer universities within the US
Study International Staff
24 Aug 2018


Nobody likes to be uprooted without warning, no matter how good the reason may be.
But earlier this month, this happened to approximately 7,000 Riyadh-sponsored students at Canadian universities when a diplomatic tiff broke out between their home and host countries.
After Canada’s Foreign Affairs Ministry and its Minister, Chrystia Freeland, called for the immediate release of arrested women’s rights activists and decried Saudi Arabia’s recent crackdown on dissidents via Twitter, Saudi Arabia retaliated with a series of drastic measures.
Among them was the announcement that the country will stop all training, scholarships and fellowship programmes in Canada. Citizens in these programmes will be urgently transferred to other countries, while trainee Saudi doctors have been allowed to stay longer.
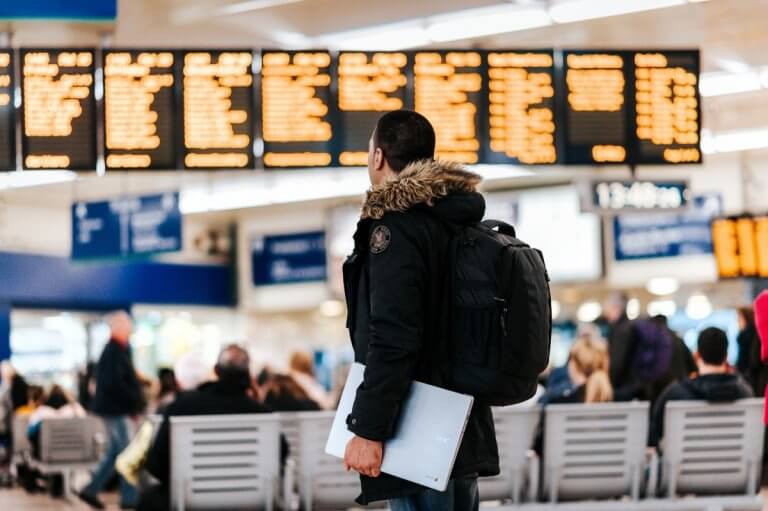
Luggage becomes the least of your concerns in this complex transfer process. Source: Kevin Grieve/Unsplash
Naturally, Saudi students are reportedly disappointed and confused with what the future now holds. Thankfully, an upside has been that they will receive help from their government throughout the transfer process.
Transferring universities, despite the reputation for being an exceptional incident, happens more commonly than you’d think in the US. For international students, added stress comes from your unfamiliarity with the system of your host country. There may be additional hurdles if you’re not a citizen, but with the right guidance and documentation, transferring universities shouldn’t be an impossible task.
In the US, students can transfer from one college or university to another after or before first semester or between academic years. It’s also possible to transfer from a community college to a four-year college or university with a 2 + 2 years programme.
If you’re an international student planning any of the above, you’ve come to the right place. Here’s a simple guide on how to transfer universities in the US:
Every college or university has their own unique transfer process, though there may be similarities between them. Some processes will be smooth while others most definitely will not.
Your current school’s International Student Services Centre will be your best bet in helping you with the transfer process. Source: Shutterstock
The people who would know this best will be sitting in your International Student Services (ISS) Centre. Your International Student Advisor or Academic Advisor would probably have helped former students start the process, informing the correct authority and taking the necessary steps to get things rolling.
Important information that students should consult with their ISS include the number of credits that can be transferred and whether things like special English language classes are transferrable to the new school.
The next step after consultation is to initiate the transfer procedure. This means getting your department or faculty head or any other relevant authorities to approve your transfer.
Time is of the essence for international students as there are lots of documents and processes (such as informing all stakeholders) to be completed before the deadline.
Once you’ve obtained the necessary approvals, you’ll have to start the process of transfer for the SEVIS (Student and Exchange Visitor Programme) record and other essential documents. You should request for your current school to transfer or release your F-1 US government SEVIS I-20 record to your new school (this is known as a “SEVIS transfer” and is different from an “Academic transfer”).
International students may now request to transfer their I-901 SEVIS Fee directly. https://t.co/ch6UtCoDiO #EdUSA
— EducationUSA (@educationusa) June 26, 2017
Take note, however, that you must fulfill these requirements to be eligible for a SEVIS transfer: 1) currently maintaining F-1 status; 2) have an offer of admission from a new school; 3) within the 60-day grace period if already graduated or completed OPT and 4) start of classes at new school are within five months of academic programme completion at current school, the last day of enrollment at current school or end date of OPT authorisation.
Depending on when you choose to transfer, you may be liable to pay a partial or full term of tuition. Check the actual amount you’ll have to pay with your current school’s finance department.
Same goes for other financial liabilities, like rent or return air tickets to your home country (if you’re moving to a school in another city or state). Be prepared to forfeit your deposit and other costs you’ve already paid for, especially if you’re set on a hasty transfer.
Once you’ve settled all the above, you should contact the ISS at your new college or university to find out what else needs to be done to complete the transfer process. This is when you should ask for information already given in orientation courses that you would likely have missed as you were still enrolled at your current school.
Money mistakes international students in the US should avoid


